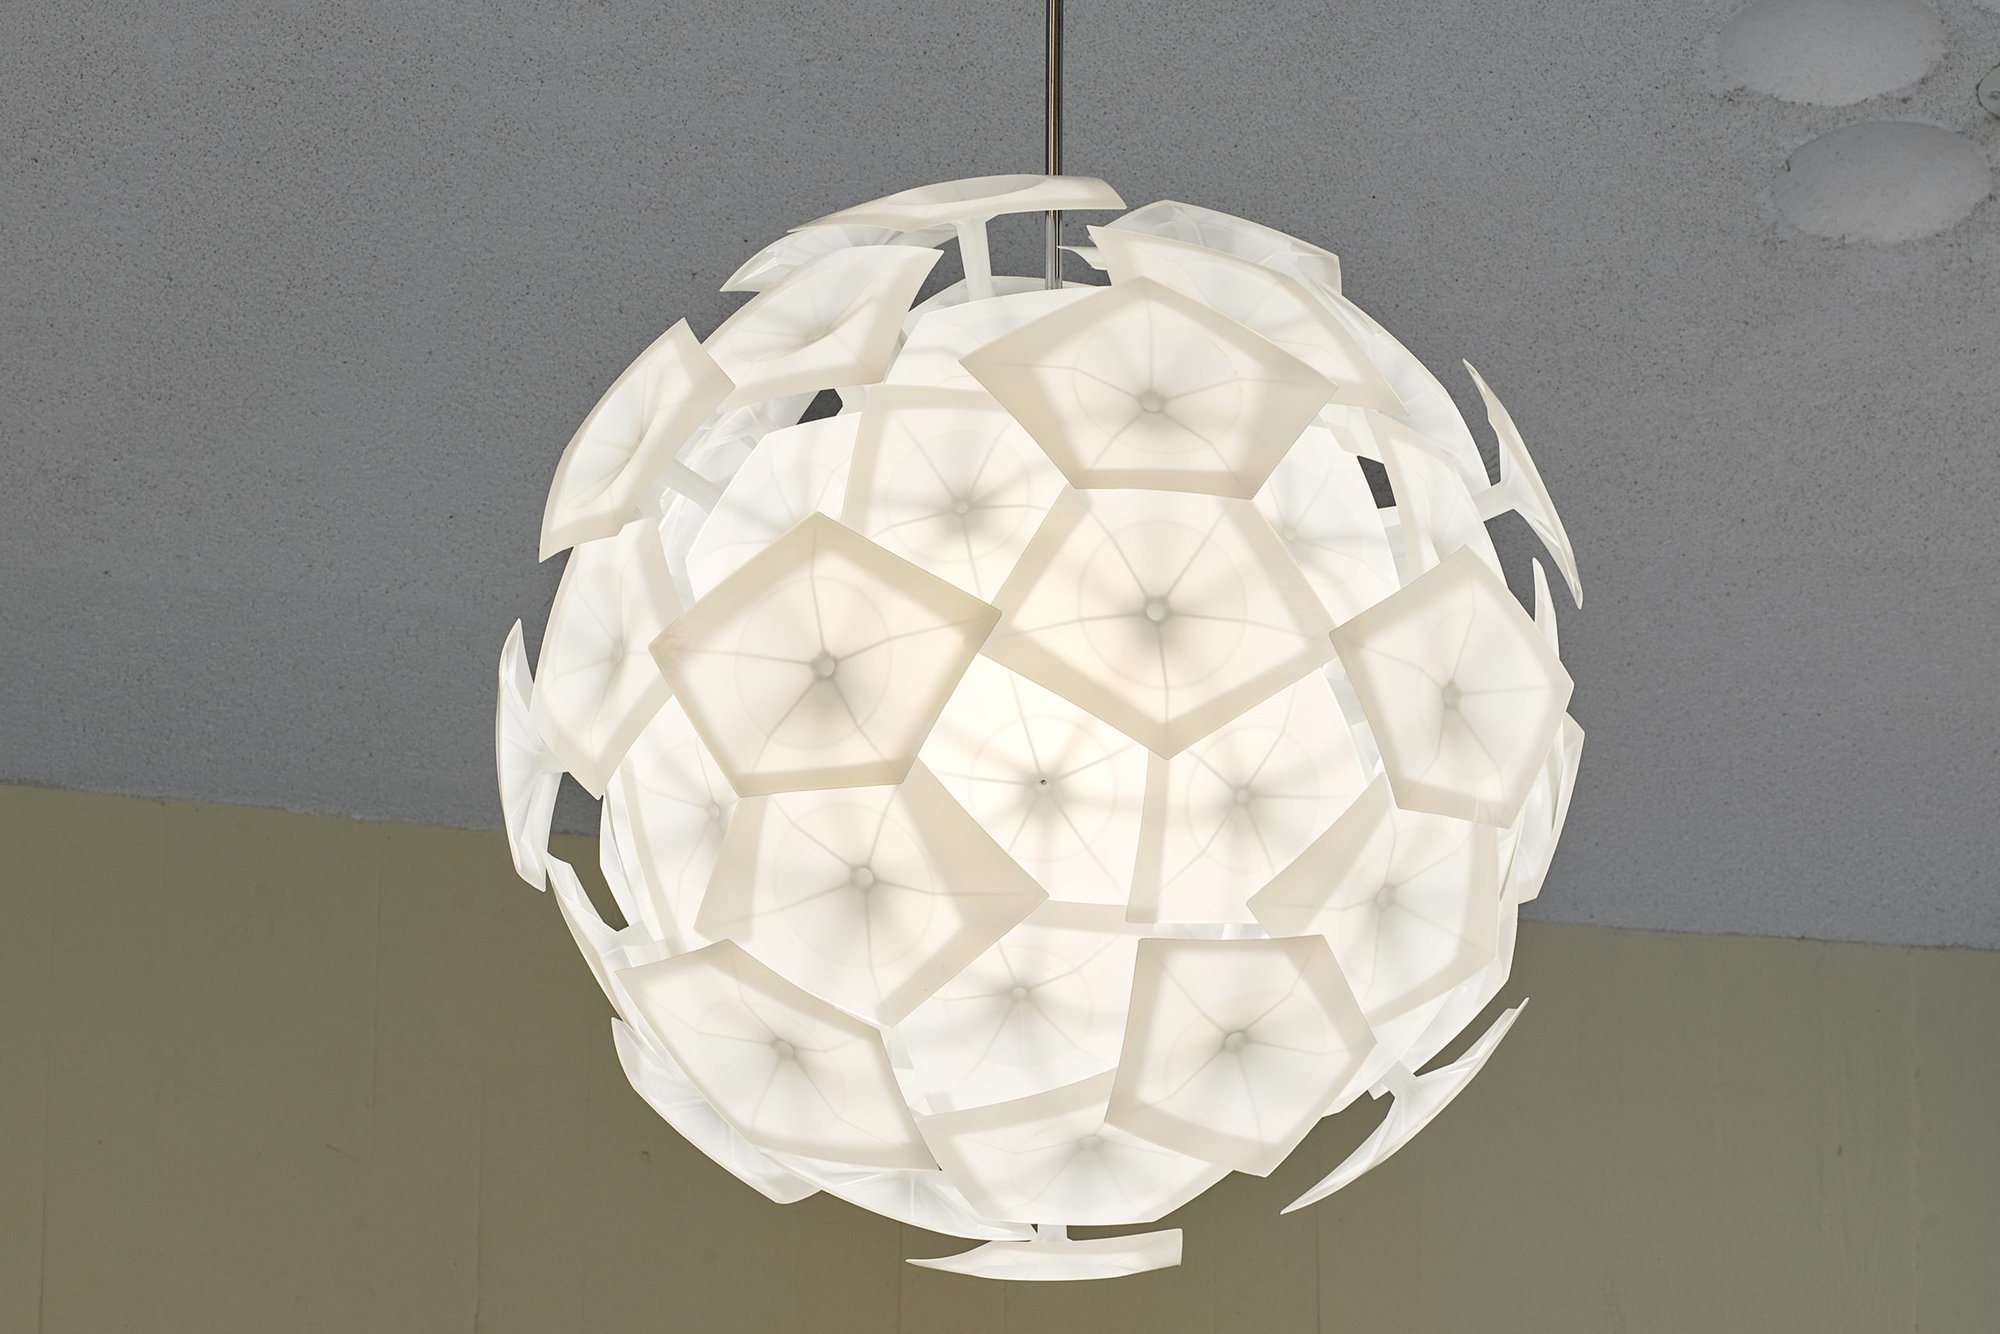
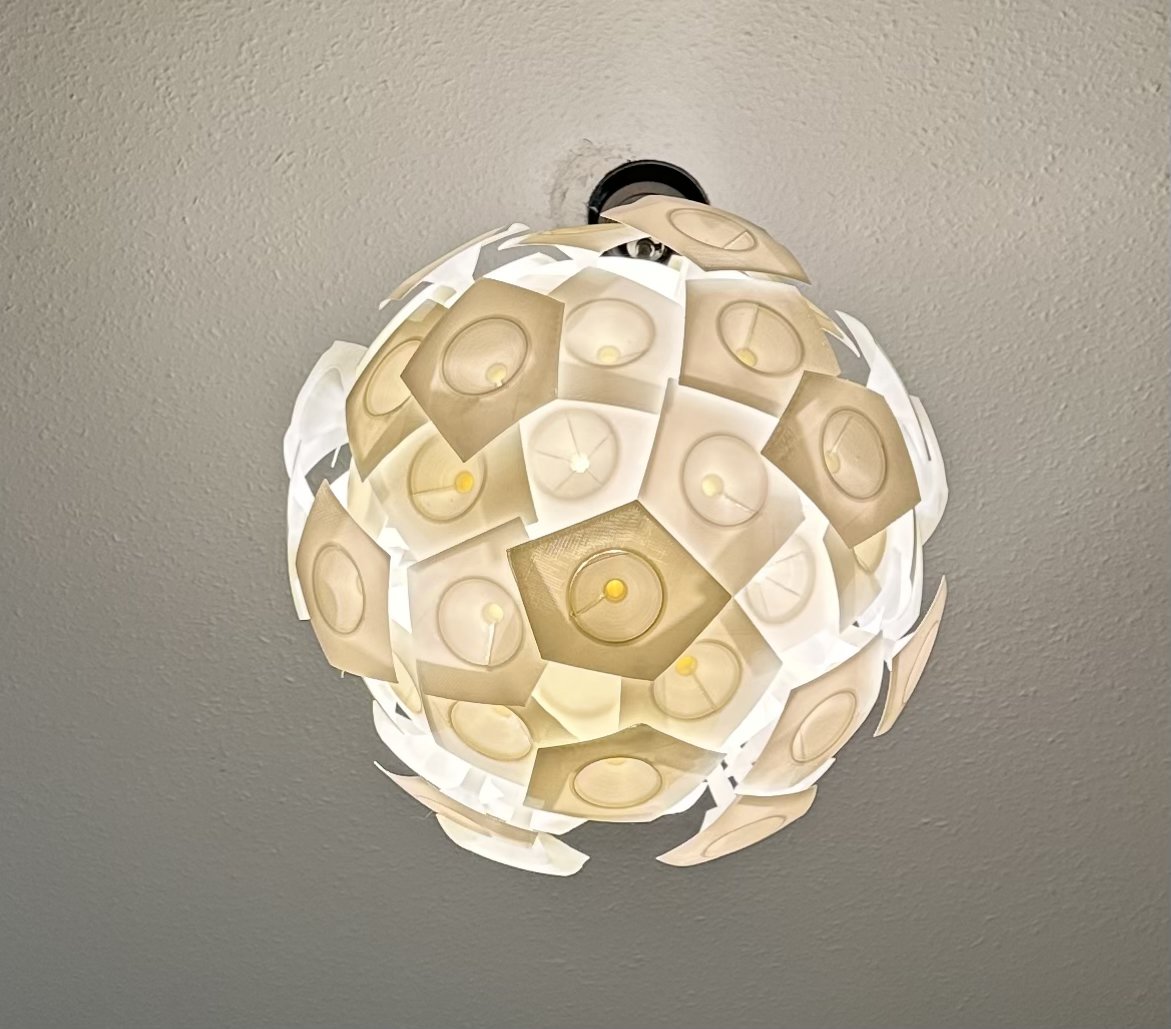
The Staatsbibliothek in Berlin has these incredibly sick lamps. They were designed by Günther Ssymmank, a german product designer who made lamps that often mix natural forms (like mushrooms or flowers) with cutting edge (in the 1960s) materials science. I have a lot of fond memories in the Staabi, and wanted to make this lamp as a gift for someone I made many of those memories with.
Unfortunately the lamps are not for sale, Günther Ssymmank died in 2009, and there is very little info on the internet about them. So I set about reverse engineering it.
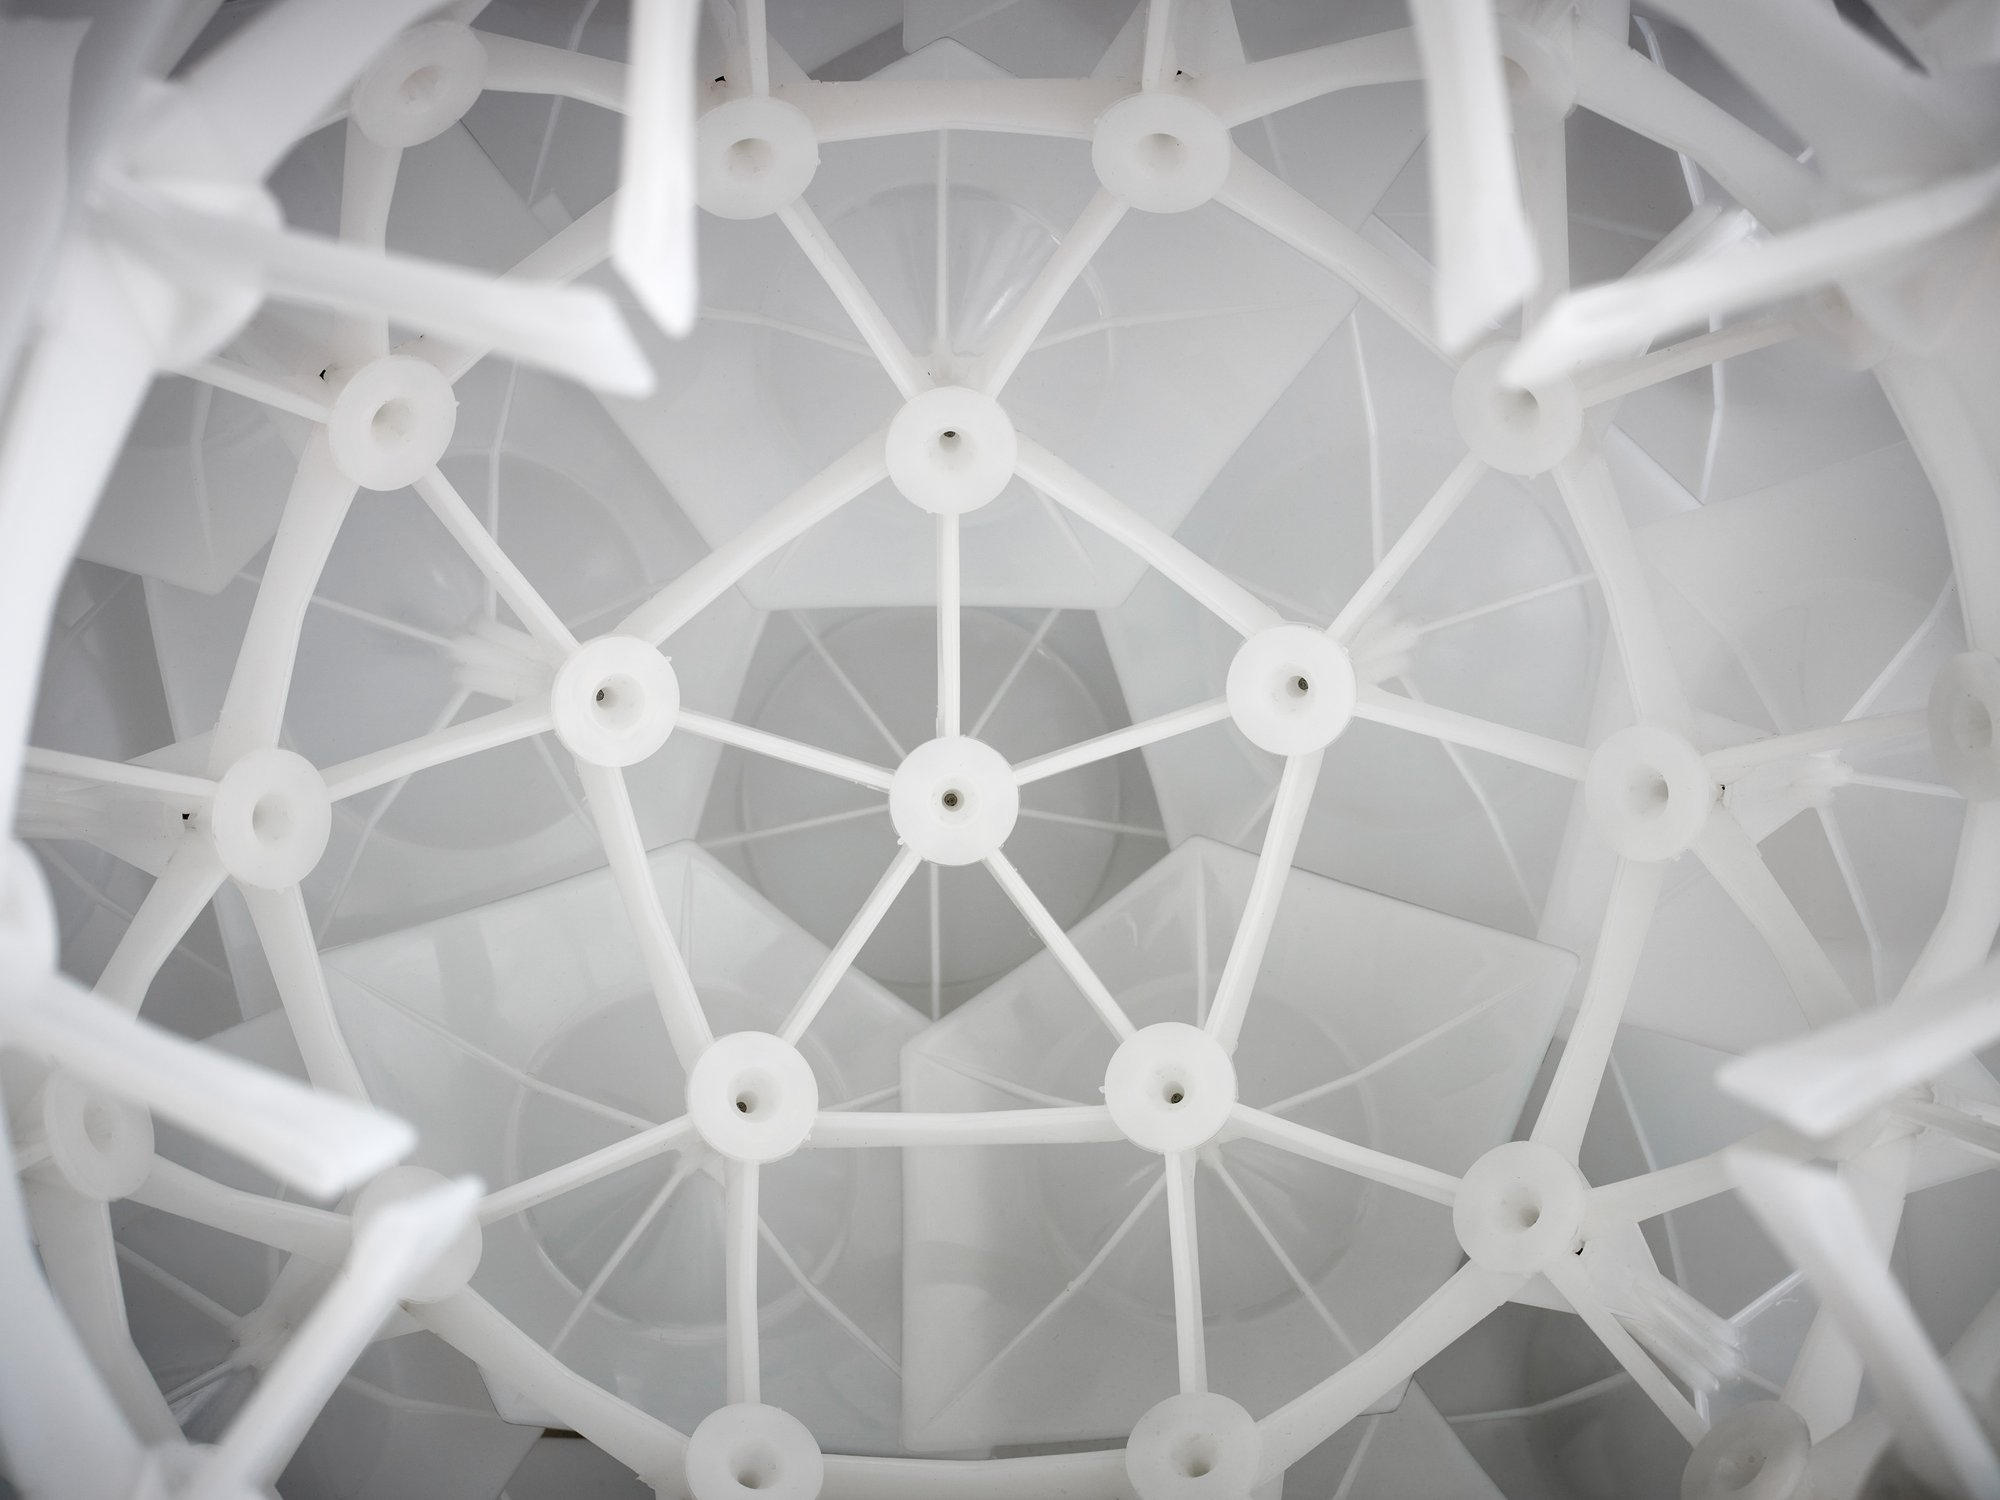
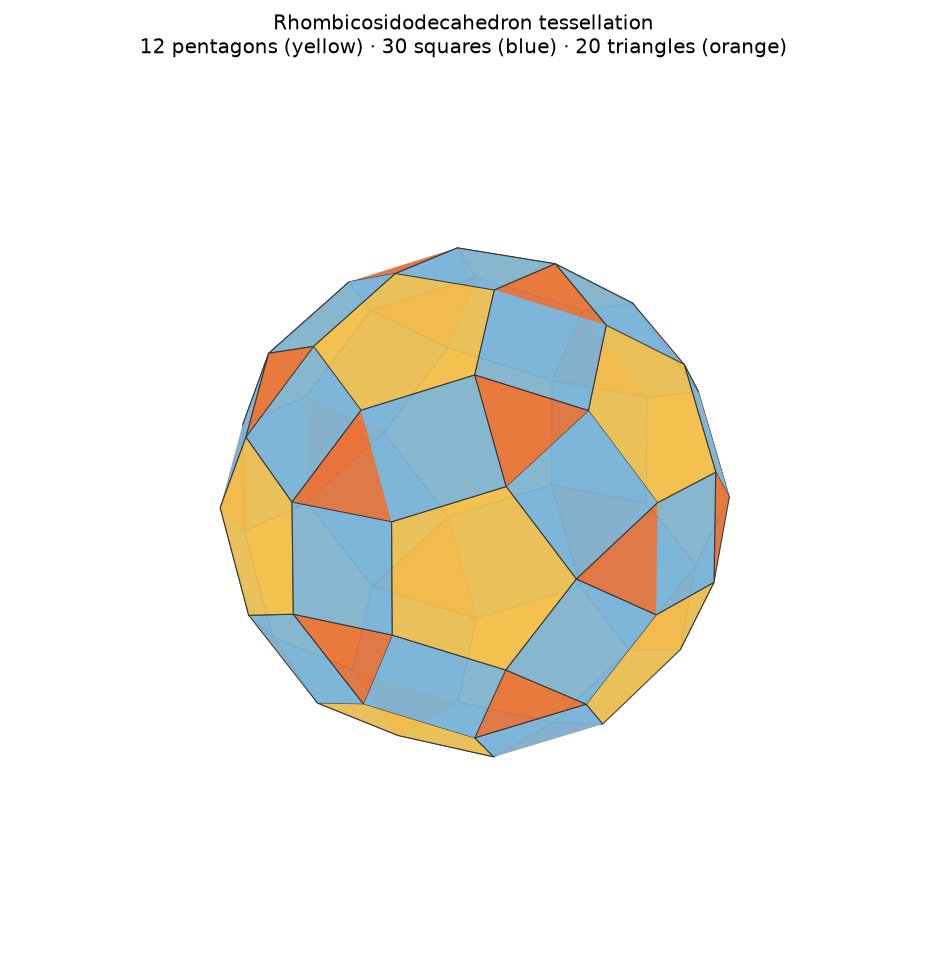
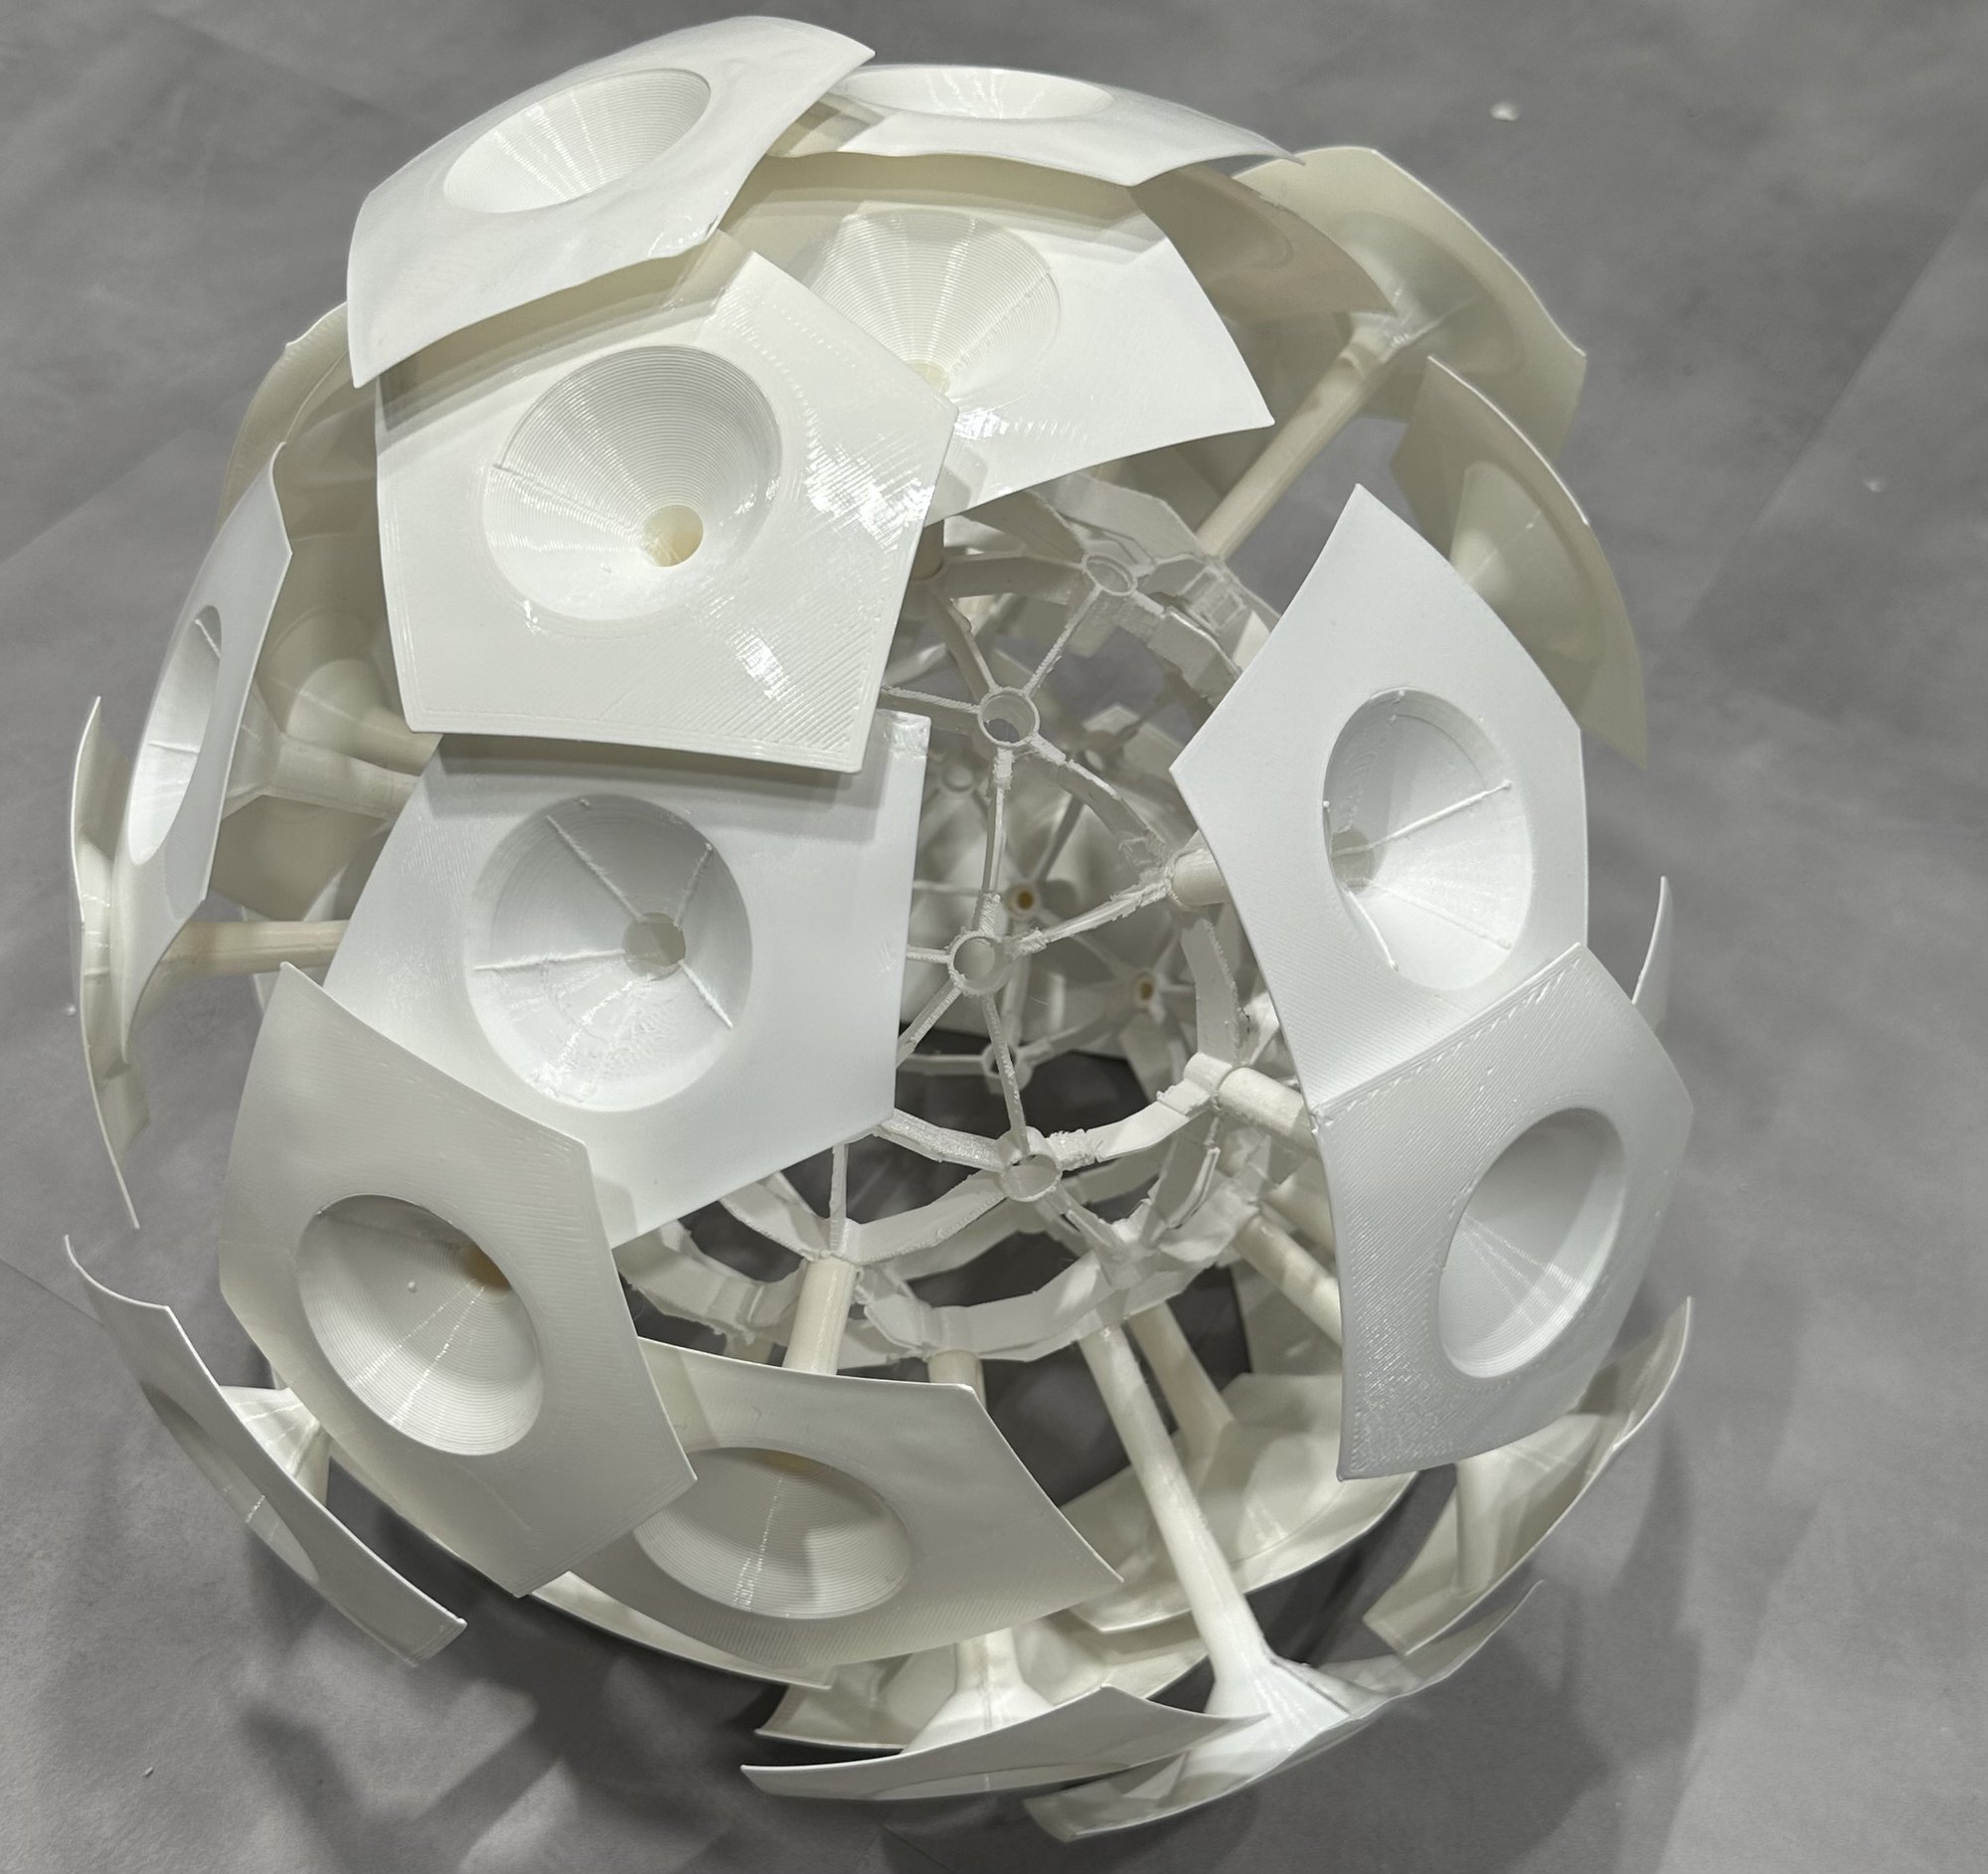
This photograph of the inside was extremely useful. It shows an interior skeleton composed of tesselated pentagons, triangles, and squares that (i swear to god) is called a rhombicosidodecahedron. Every vertex (and the centre of each pentagon) seems to have a socket.
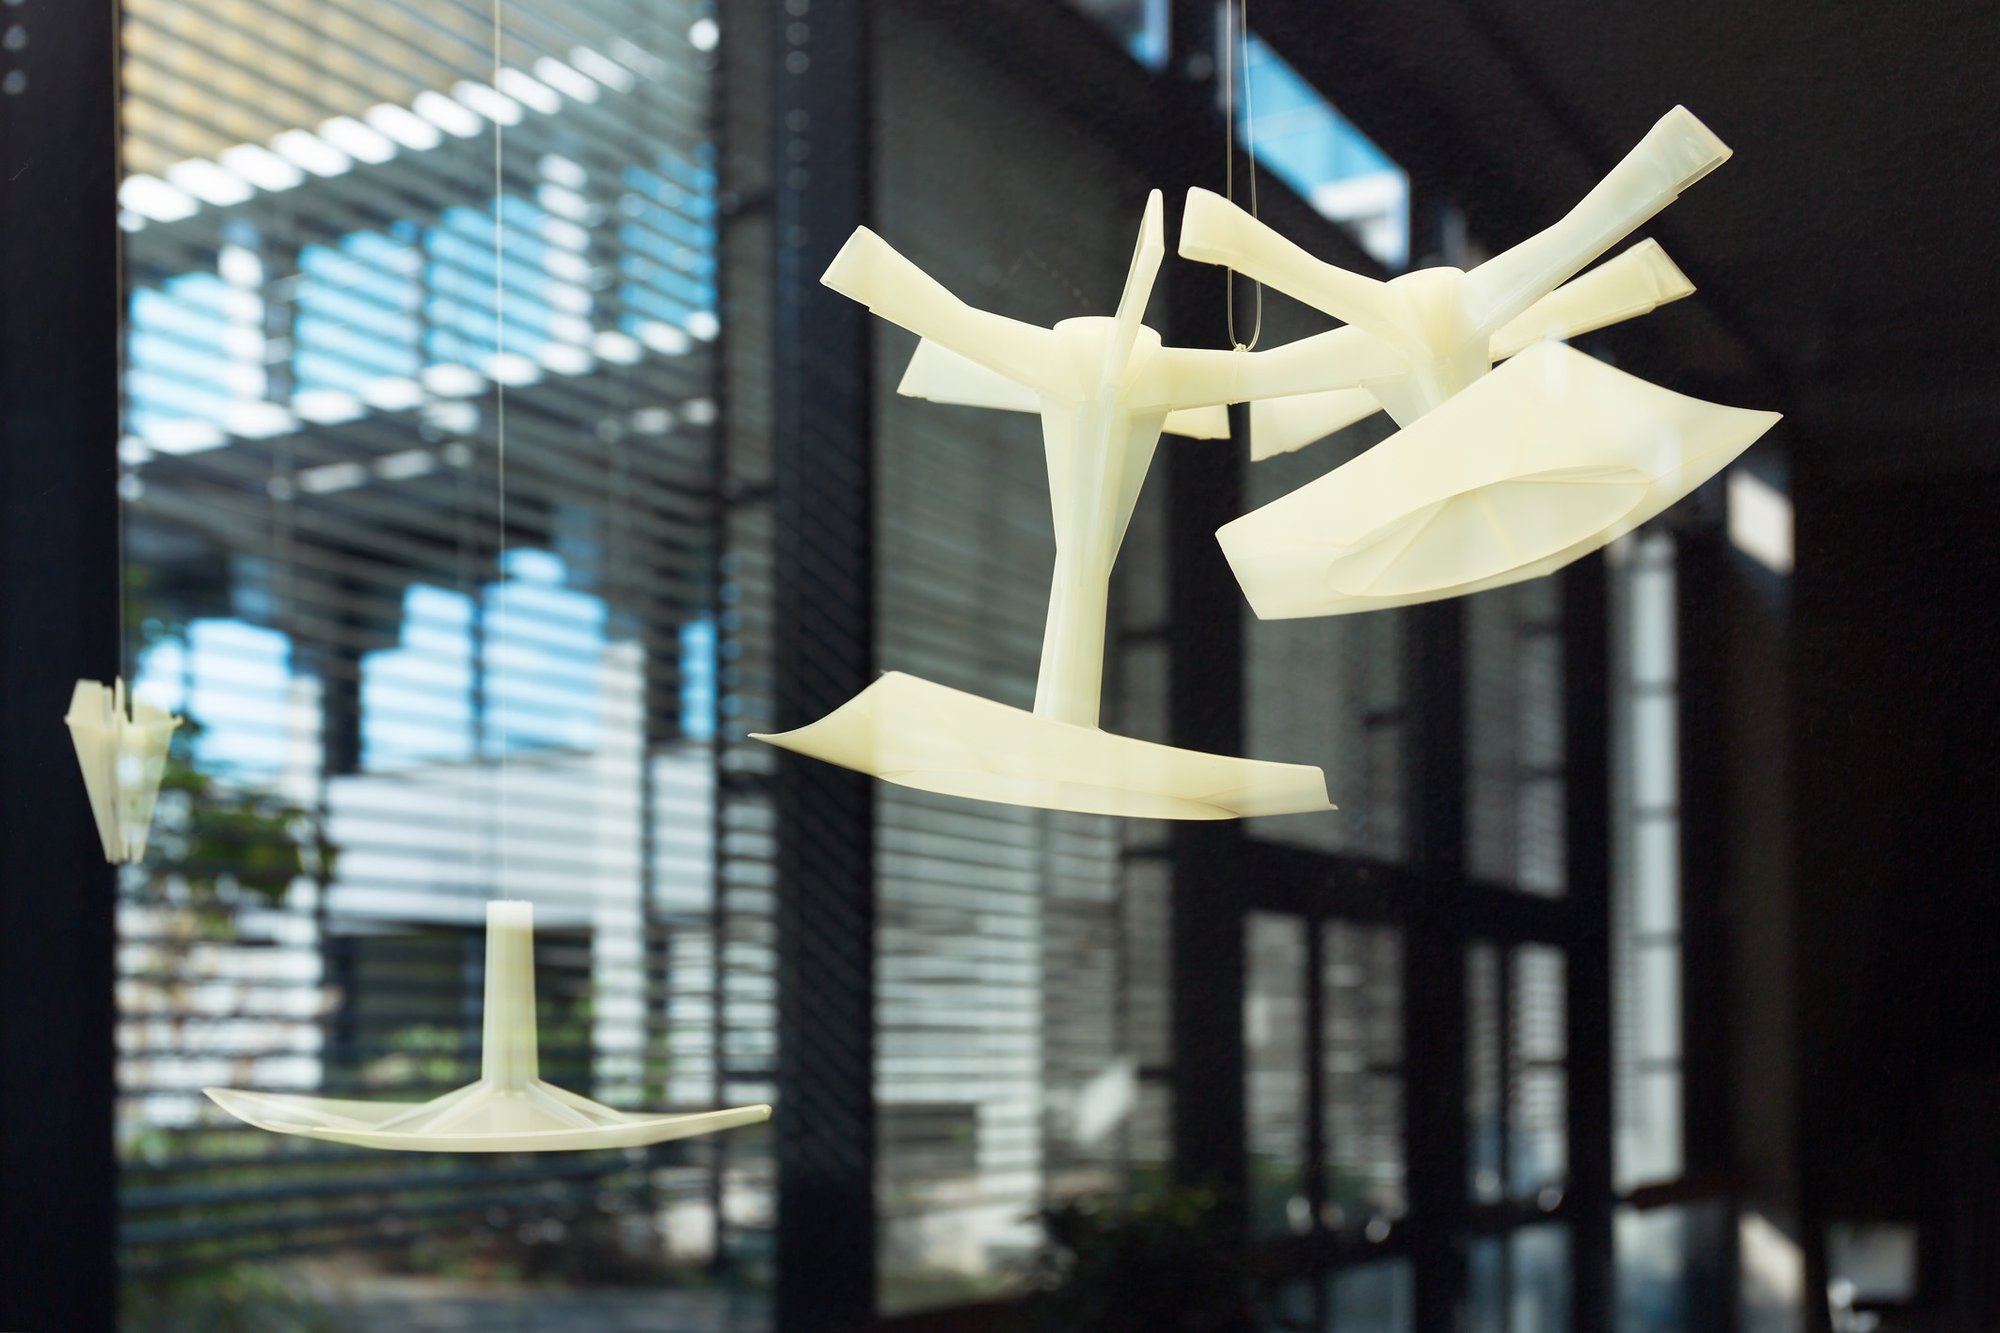
Another photo from the internet shows how plastic "mushrooms" of varying height connecting to those sockets. So there seem to be two main parts to the lamp: an interior skeleton, and a series of mushrooms that fit into it.
Part 1: The Skeleton
The basic shape of the interior skeleton was fairly striaghtforward to model in python
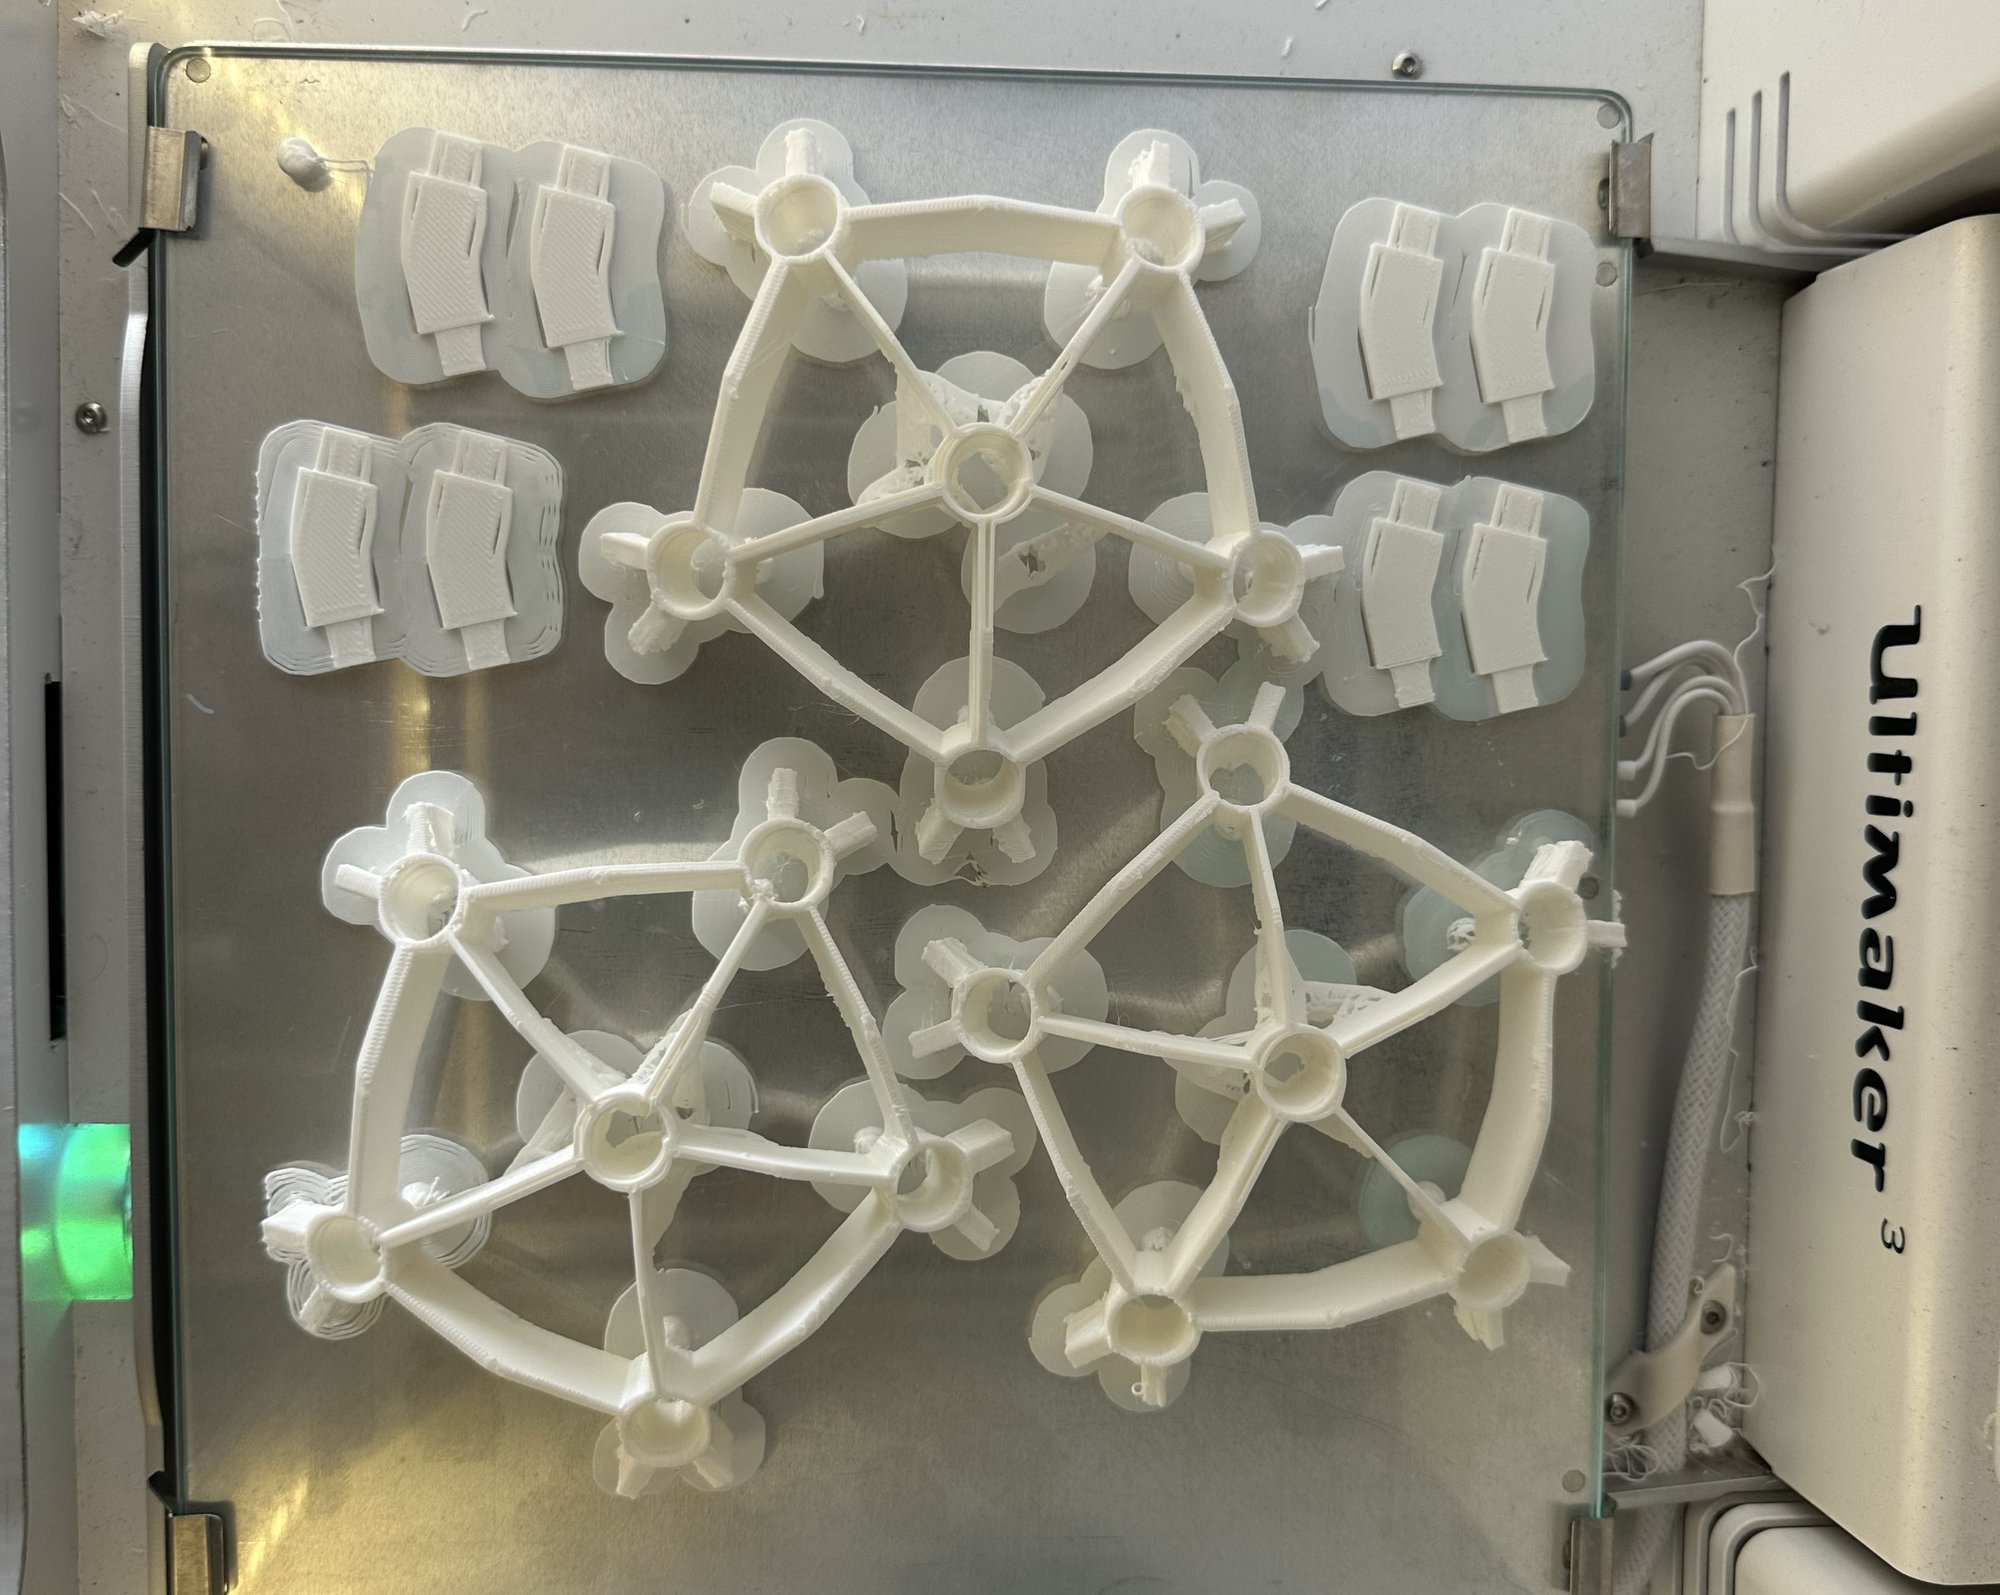
But I needed to design three dimensional objects that could fit together into that structure. I make these "stars" in my best approximation of the photo of the lamp's interior. Each one has six sockets to fit the mushrooms. These stars would be connected to each other via a kinked connector, that would fit into the rectangular slots on the side.
The cool thing is that the entire interior frame can then be assembled from just these two parts: 12 stars, and 60 connectors.
I sent the stars to the printer, and after many many failed iterations, managed to print out the requisite 12 stars.
The connectors were slightly easier to print.
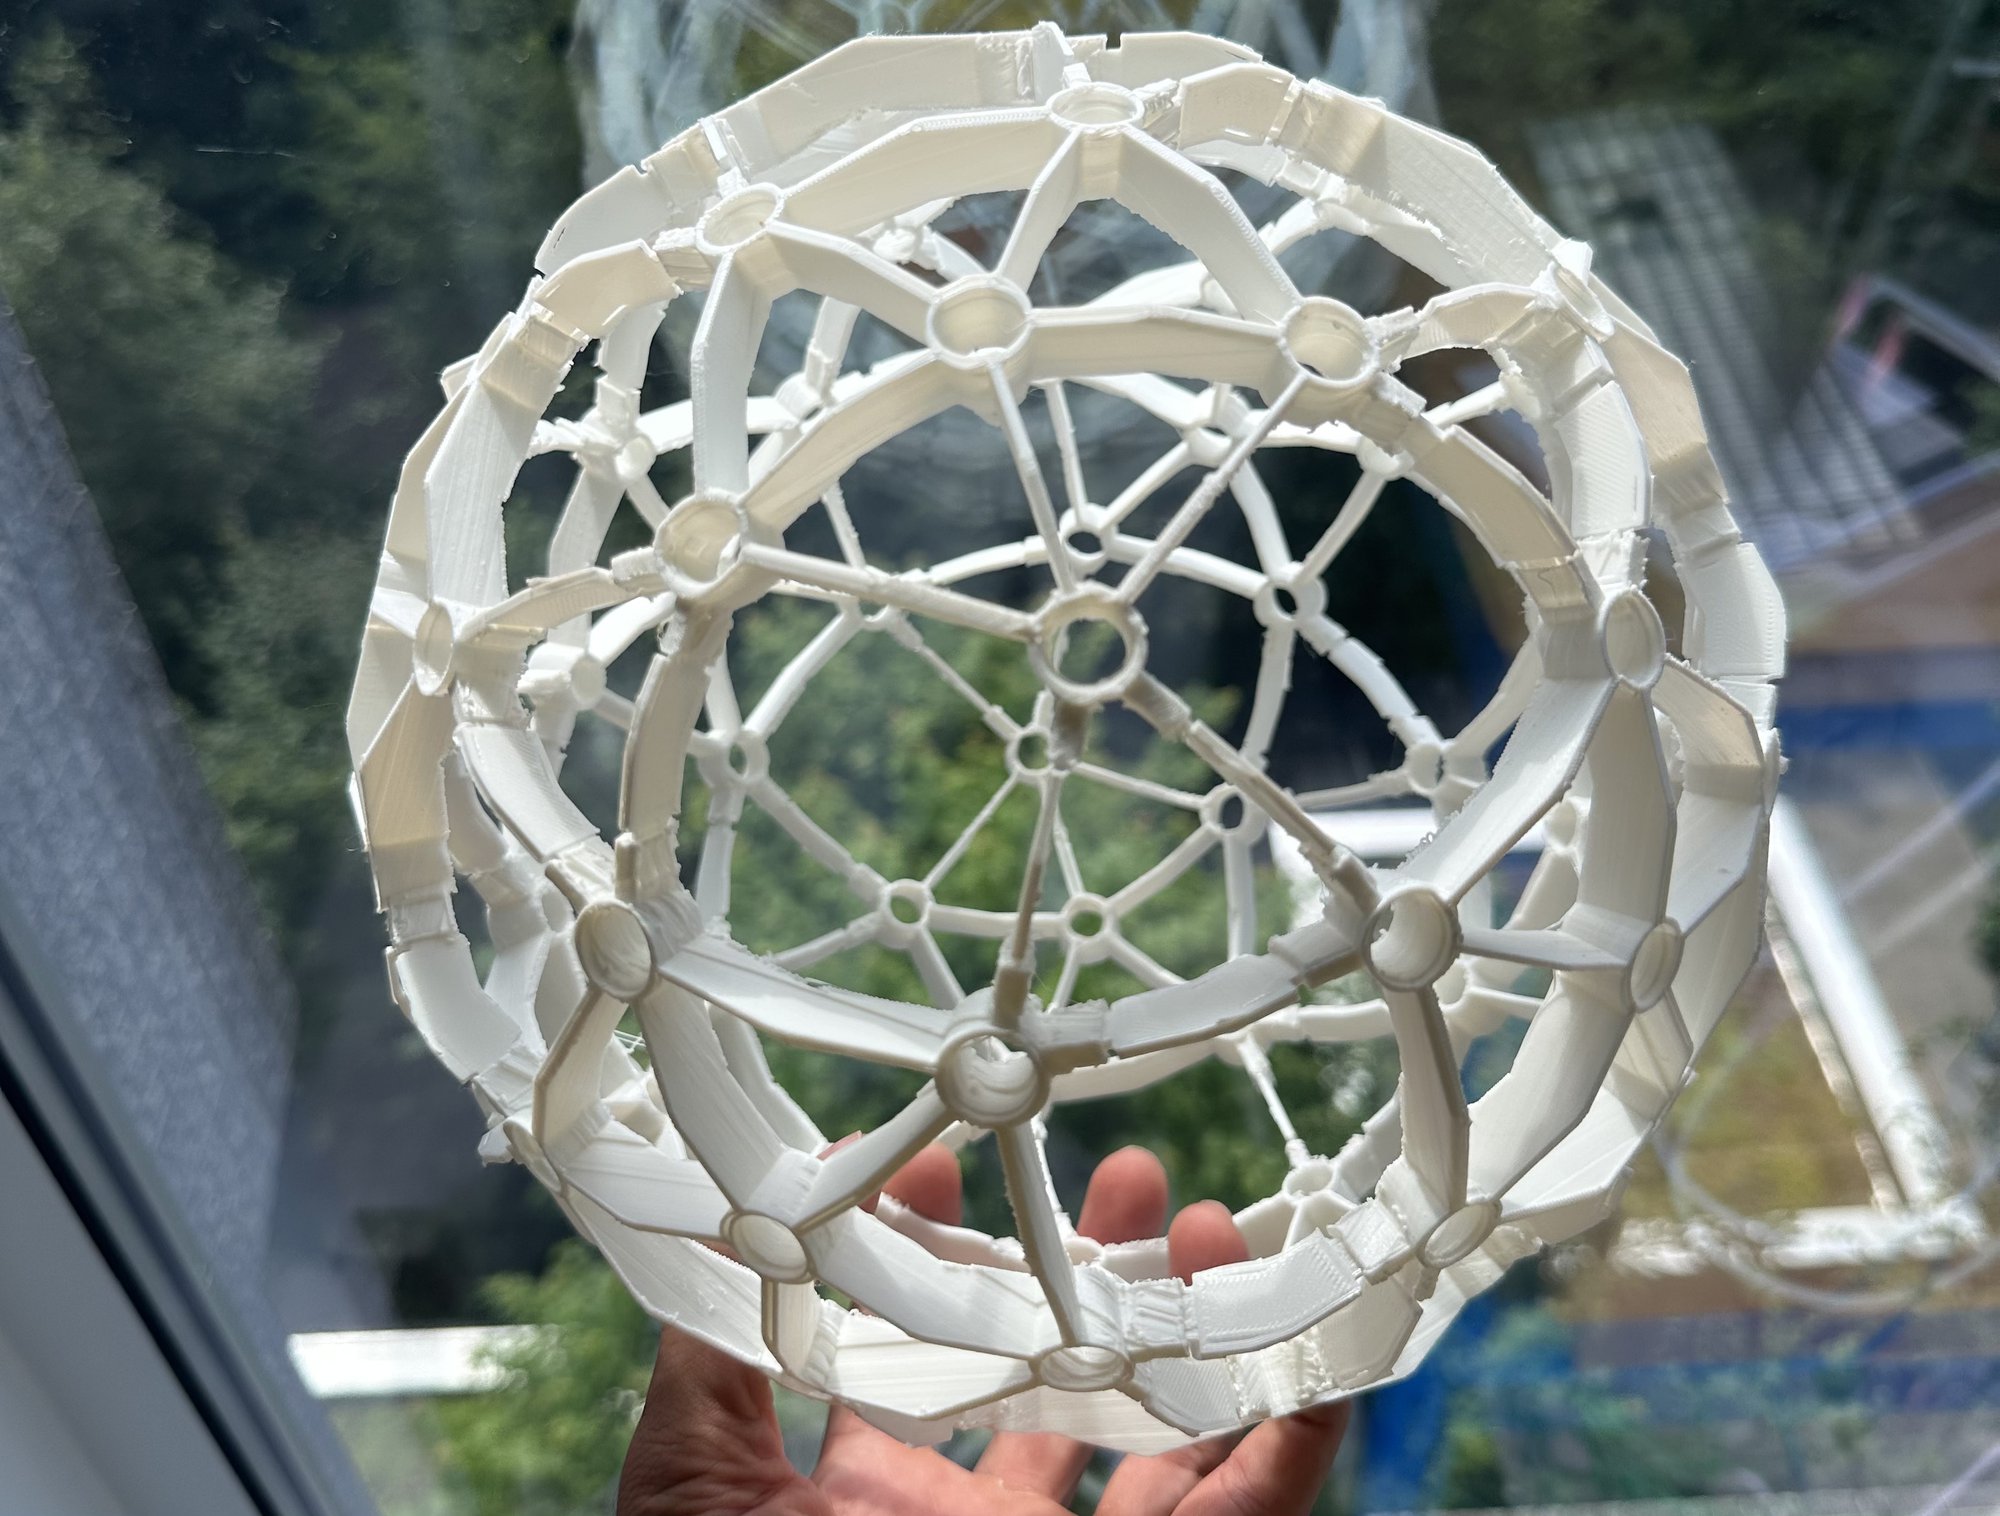
Once all the stars and connectors were printed, I assembled the interior frame.
The completed interior frame
PART 2: The Mushrooms
With the interior frame now finished, I had to design the mushrooms and the full assembly. In pictures of the lamp online, I was able to see five different heights of mushroom protruding from the skeleton, which I modeled like so.
Each of the 72 mushroom connects to one of the sockets in the skeleton. The mushrooms are curved, and overlap slightly forming a sort of shingled pattern, but never touch eachother. Though the layout of the mushrooms seems explosive and chaotic, it is anything but. Ensuring that all mushrooms overlapped (thereby making it impossible to ever see the bare bulb) but making sure that no two mushrooms touch required finding a very specific layout and order of assembly.
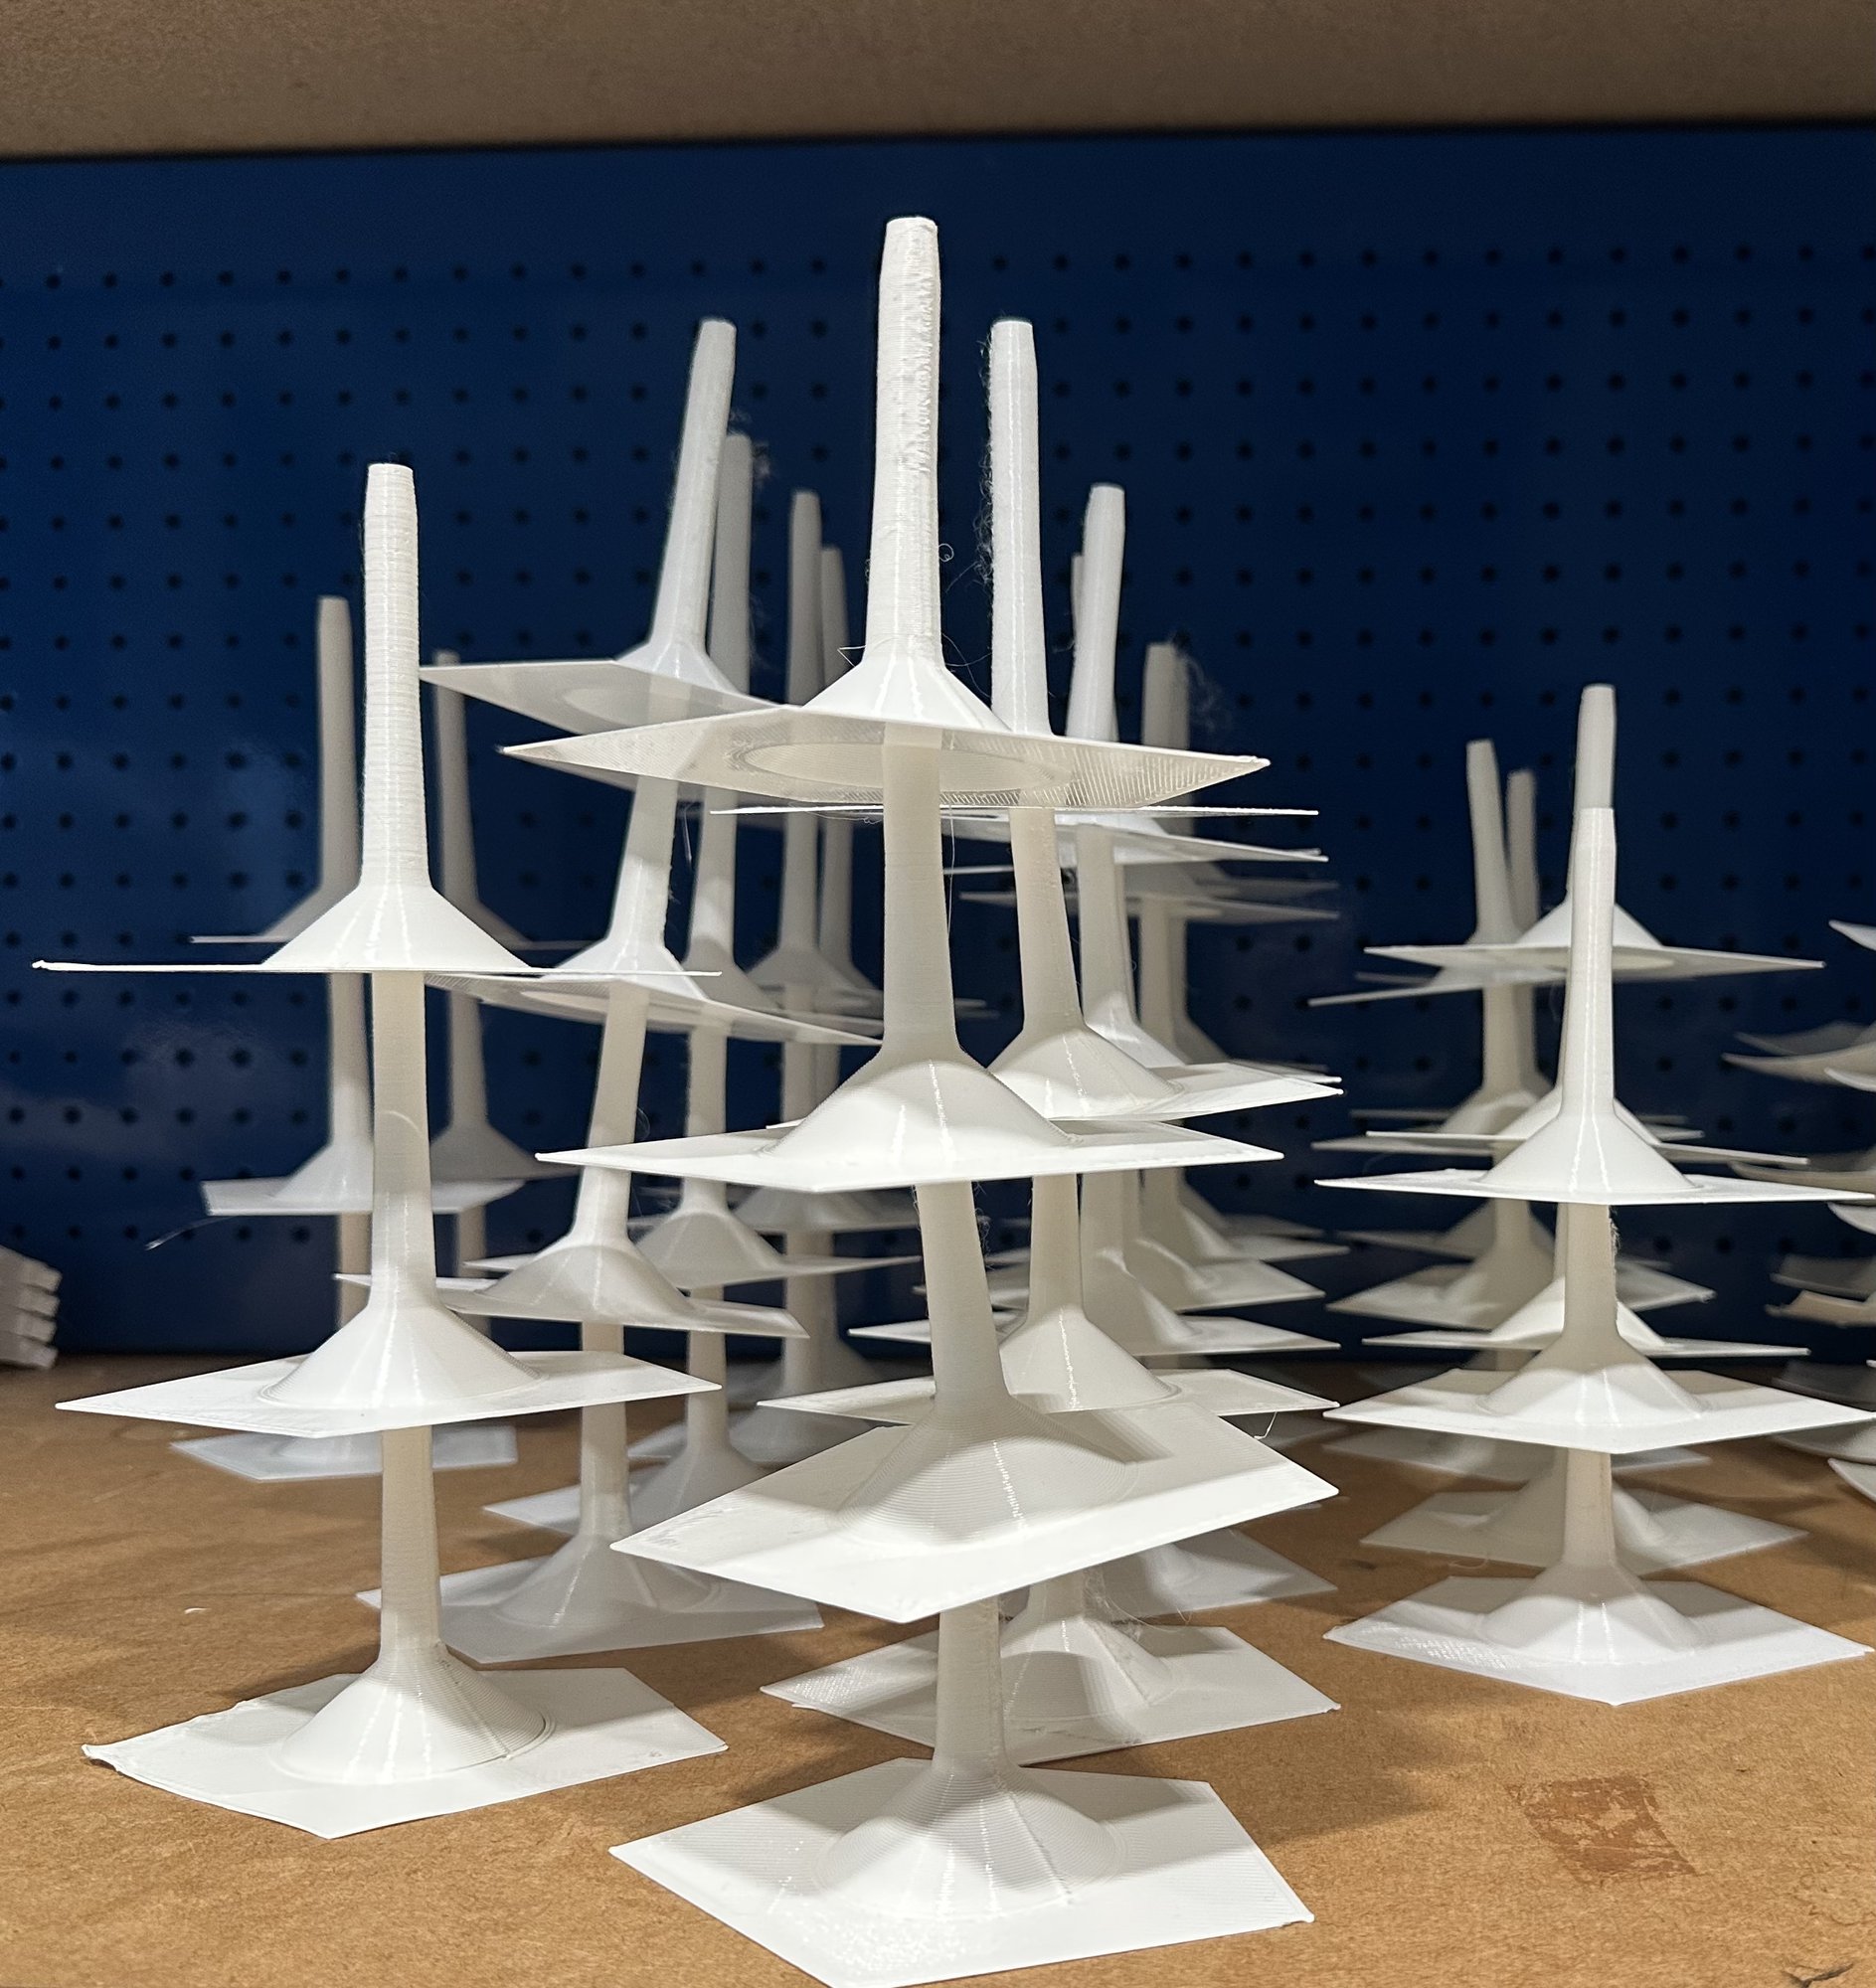
The mushrooms could not be printed with curvature; the 3D printer is basically printing into thin air and the result is a pile of plastic spaghetti. So the 3D model and the prints had to have a flat bottom.
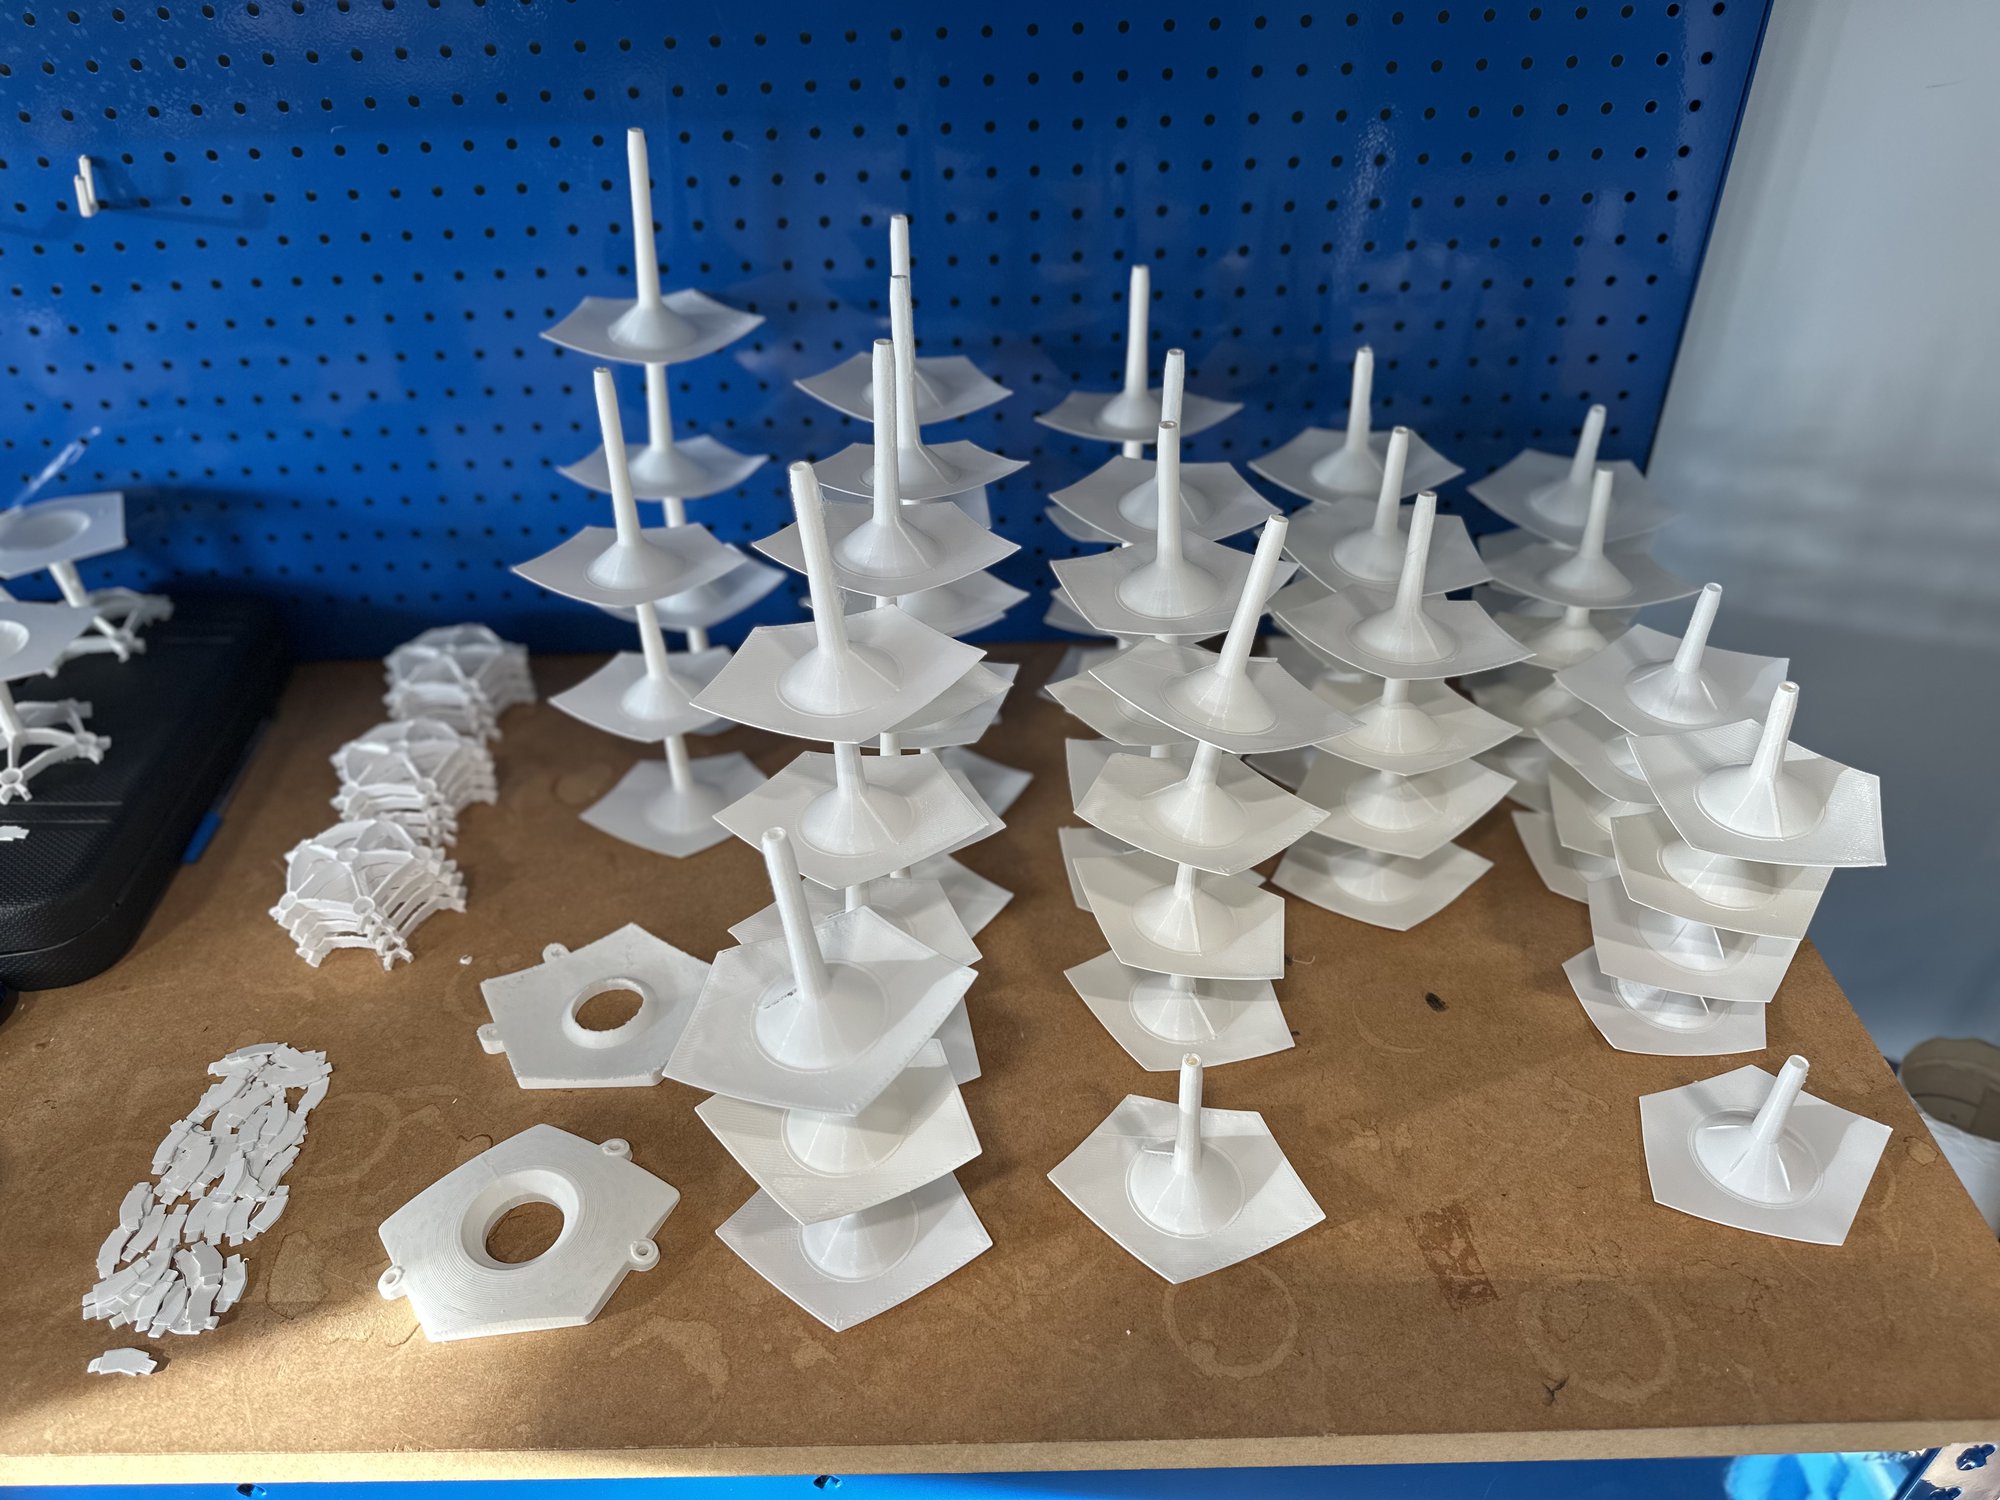
Here's a stack of printed mushrooms. But without the curvature, they can't overlap and the lamp cannot be assembled. Luckily, the material (Polylactic acid or PLA) softens around 70 degrees celcius...
... so I also printed a curved mold, set up two bowls (one with boiling water, and one with cold water), and dipped each mushroom into the boiling water, pressed it in the mold, and dunked it in the cold water. 72 times.
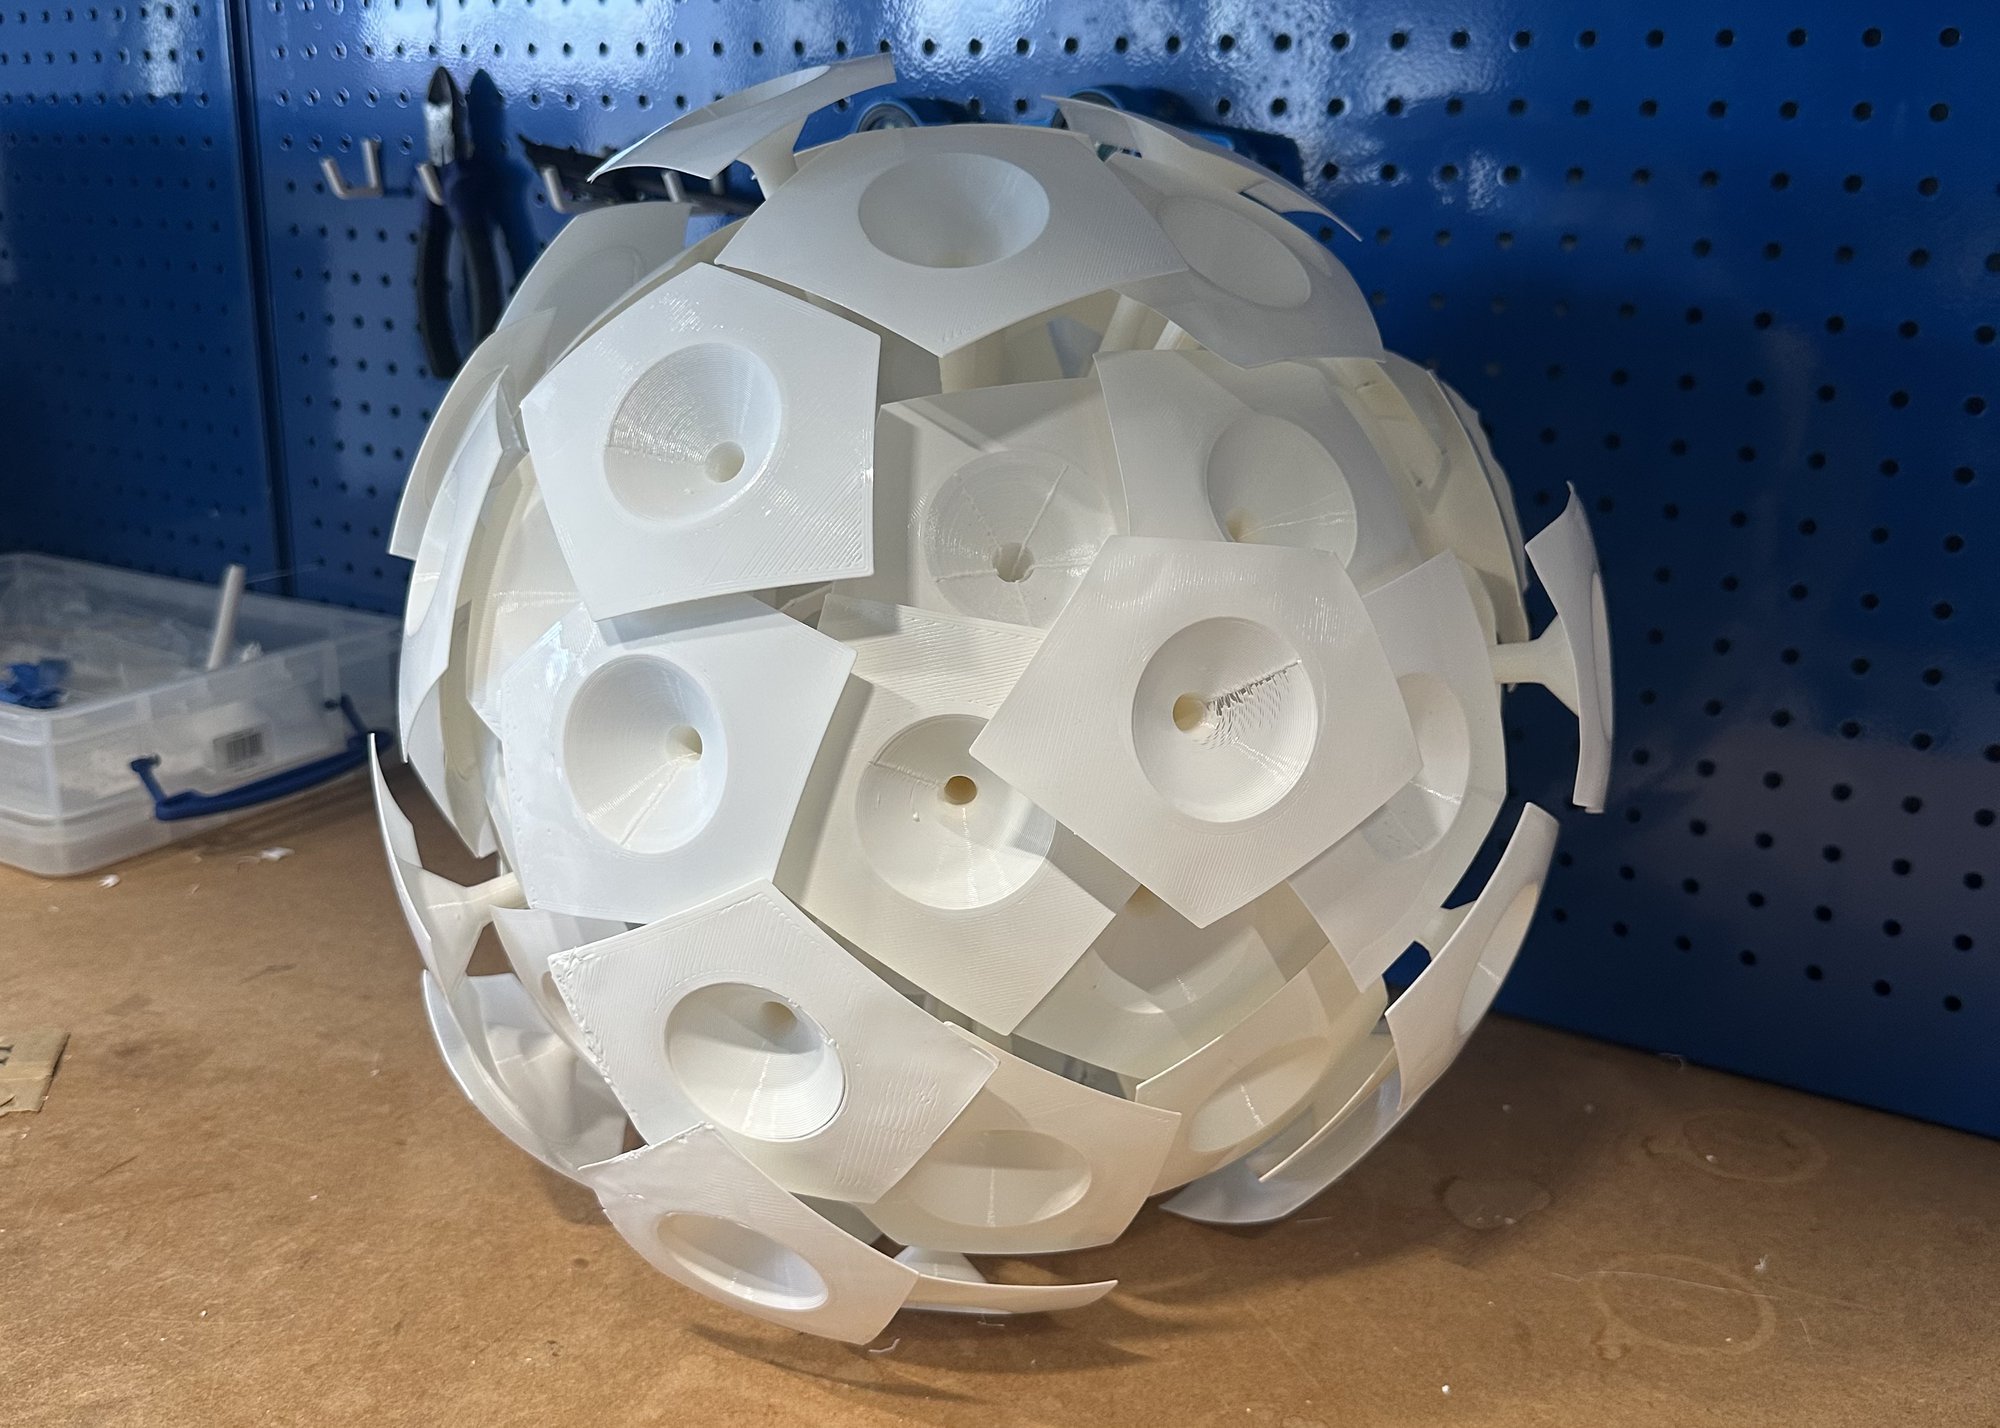
This was actually very effective in imparting the curvature on the mushrooms. And now, with 60 connectors, 12 stars, and 72 boiled mushrooms, it was time to assemble.
Putting the mushrooms on in order. Locked in.
The finished product on the workbench.